
by Jeremy Wilson
Literacy Centre of Expertise Assistant
As we are now months into the continuing COVID-19 pandemic, some of us have realized that many of the resources and materials we were accustomed to using in a physical classroom have had to be replaced by those we can use online. This has meant, at least for me, having to develop new resources or modify existing ones that can be delivered online within Zoom, What’s App and Google Classroom.
Today I’d like to highlight some content creation tools (both paid and free) that have been beneficial in developing those materials and some examples. I have little formal training in media creation, audio/video editing and have slowly learned little tricks along the way. It should be noted that many of these tools will assist with material creation when going back to a physical classroom as well.
This blog post cannot explain how to use each program in depth or troubleshoot problems due to length, but searching Google can provide you with almost any answer or tutorial you need. I am not affiliated with any of these programs and my recommendation of them is purely based on my personal experience and use (I receive no compensation whatsoever).

1. Screenshot
The first tool I’d like to highlight is screenshot programs. These allow you to take a picture of anything that is on your computer screen. This is especially beneficial for creating how-to documents such as how to open an email, how to use Google services such as Google Classroom, Google Maps, Google Translate etc. You can take a picture or “snip” a certain section of your screen and then insert it into a MS Word document or Powerpoint slide so it is easier for your learners to see what they have to do, as it is so often true that “a picture is worth a thousand words” and this is especially true with literacy learners.
There are many options for this, such as the Snipping Tool (included with Windows) or PicPick, which I personally use because it is free and has a great built-in image editor for resizing and cropping.
2. Screencasting
There are times when a picture is not enough and you may want to record video on your screen, such as when creating how-to videos similar to those stated above (Google Maps etc.) but also for instructions for installing applications and creating email accounts. The benefit is that video can help learners complete tasks independently and are helpful in showing what a whole task may look like from start to finish. This can be helpful when presenting the “whole” aspect of the Whole-Part-Whole approach. To view an example of how screencasting can be used in a video tutorial, click here.
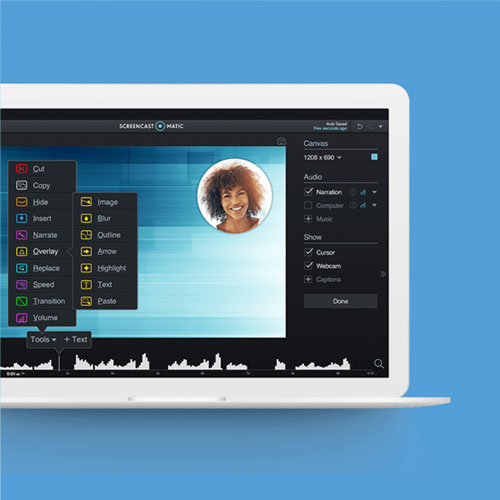
There are many programs available, most of which are paid. I personally use the paid version of Screencast-O-Matic (it also has a free version) as it has a great editor that allows me to blur sections of the recording, which is useful when you want to show learners how to do email tasks but don’t want your email address or other personal information on YouTube. A free program I also used in the past is OBS Studio, which has many features though it has a bit steeper learning curve. Microsoft Powerpoint also includes a screen-recording feature.
3. Voice Generation
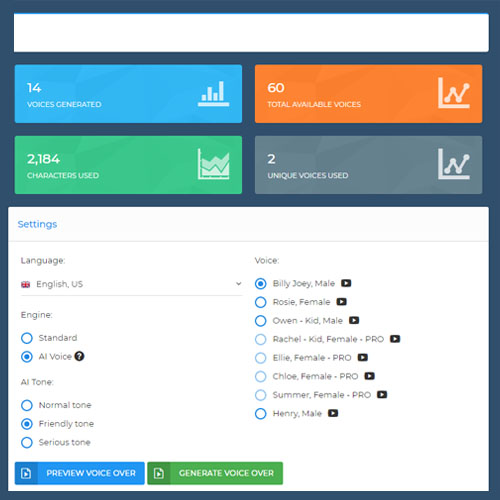
One of the biggest issues I have faced is finding appropriate audio recordings or videos to use with learners. Many are either too difficult or include superfluous language that I would like to avoid. Creating my own is my preference and truly is the best choice, but when creating dialogues it is not always easy to find partners to record with at a decent quality nor do I always have a quiet environment or readily-available audio equipment. Recently I discovered Amazon Polly (which is free) and Speechelo (which I bought), which allow me to paste text into their editor and create audio recordings of that text said by different male and female speakers.
Voila! Instant recordings with no microphone or speaker needed. While these programs are not perfect and definitely have their limitations, they can suffice when no other options are available. Of the two, Speechelo is definitely better and my recommendation, though Amazon Polly can be used in a pinch.
The speed of the speech will likely be too fast to use for lower levels, so will need to slowed down using Audacity (see #4).
4. Audio/Video Recording and Editing
If you would like to either create your own audio recordings (dialogues, monologues, talks, commercials etc.) or edit pre-existing ones, you will need either a hardware or software recorder to do so.
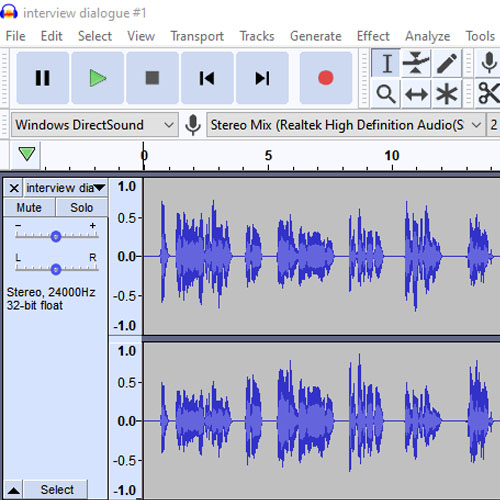
As this post focuses on software and affordable or free options, I would recommend Online Voice Recorder as the simplest choice for recording as everything is done online and you can download your recording as an MP3. Audacity is another free program which I highly recommend.
It can both record and edit, including increasing or reducing volume, editing out mistakes, mixing multiple files together as well as reducing the speed of the recording without changing the pitch, which can be very helpful when creating or modifying recordings that you intend to use with lower-level language learners. If you need a place to keep your recordings online where they are easy for both learners and yourself to access, Soundcloud has a free account option.
If you’d like to make videos, there are many options. First, you need a video recorder of some sort and this could be your smartphone, the screencasting options discussed above in #2, and my new personal choice, the recording function of Zoom. Zoom is great because it allows you to record using a virtual background if your environment allows (great for placing yourself in a doctor’s office, receptionist’s desk or any other place you may want to situate a role-play etc.).
A video can also be a mix of different types or recording, such as a how-to video that includes screencasted footage, Powerpoint slides or Google Slides and video recording done on Zoom. If this is the case, you will need a video editing program to edit and trim sections of your videos, put in transitions such as fades between clips, and intro/outro/background music and narration and mix them all together into a file you can upload to YouTube. There are many choices for this kind of program, such as iMovie for Mac and Windows Movie Maker for PC, though I currently use OpenShot, which is free and not very difficult to learn.
5. Online Quizzes (Google Forms)
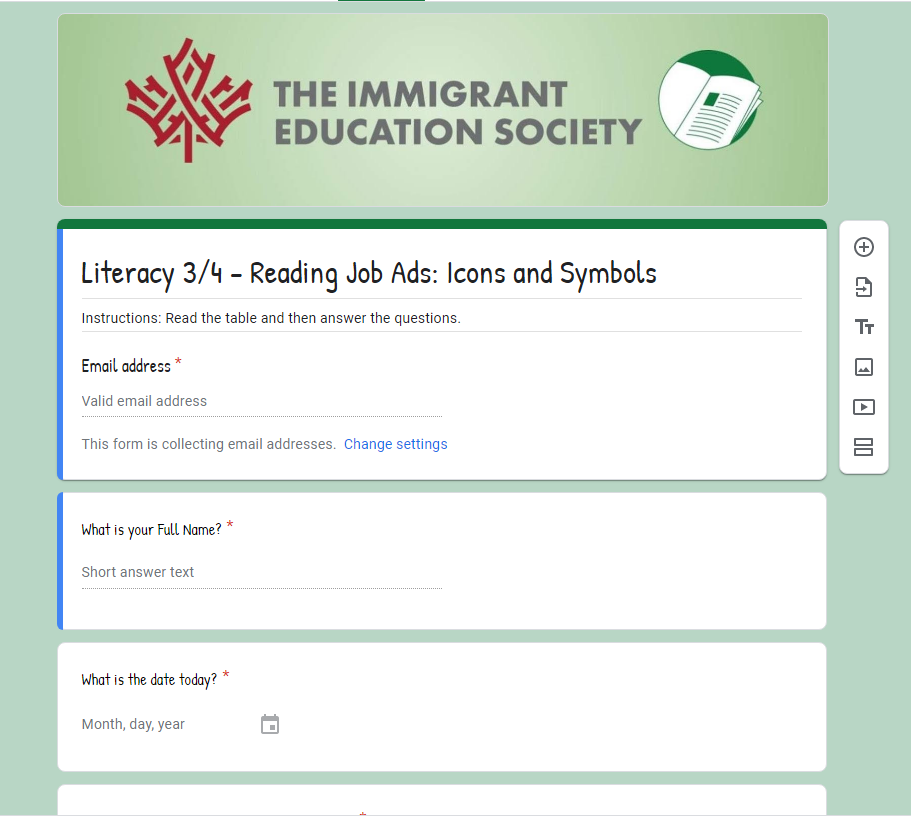
Similar to other tools, there are many options for online quizzes, but I have found Google Forms is my favorite because it is free, highly customizable, can embed YouTube videos and can be used for assessment as well as a replacement for traditional worksheets. This is a tool I use in my 3/4 literacy class almost every day, and once learners get their hands on how to use it, it can be a great way to incorporate media and quizzing into your classrooms.
In regards to PBLA, you can use Google forms to do formative and summative assessment, goal setting, needs assessment and learning reflections, among others. The question types include multiple choice, long and short answer, checkboxes, dropdown choices and even the option for users to upload their own files (pictures, recordings) to each form before they submit. Here are some examples:
There are definitely other tools available and likely many I have missed as well. I recently attended a webinar where the presenter discussed Padlet and I know many instructors also use Kahoot! for learning games. Please leave a comment on which tools you use and how you utilize them in your classroom and feel free to contact me with any questions jeremywilson@immigrant-education.ca, I’d love to hear from you!
Happy creating!

Wow! As a struggling teacher, I can’t thank you enough for this compilation of tools.
You’re welcome Subi! Glad you found it useful.