Printable Alphabet Flashcards and Activities

Donna-Clarke

by Donna Clarke
Literacy Centre of Expertise Lead

The Reading Room at TIES needed new alphabet flashcards for one-on-one tutoring, and our literacy teachers needed adult-focused flashcards for their classes. So, I started my search. I wanted:

      1. One-sided cards
      2. Upper- and lower-case letters on separate cards
      3. A photo image that literacy students could easily interpret
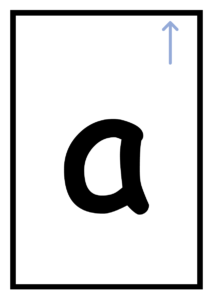
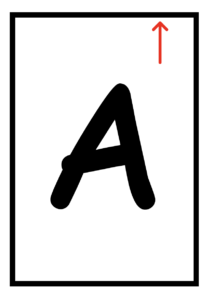
      4. A font that would be easy to read (I did not want a ‘g’ or an ‘a’)
      5. A visual clue as to how to orient each letter
      6. Plenty of white space on each card
      7. Useful words associated with each letter

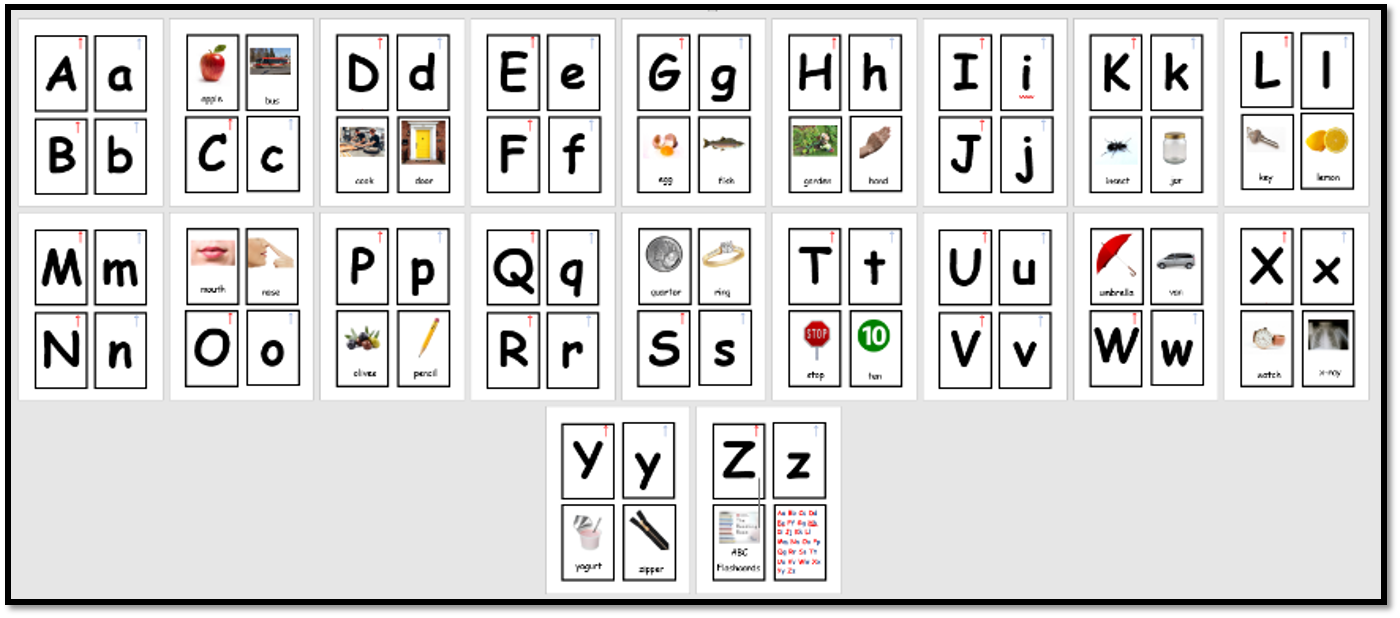
I was not successful. Most of what I found in stores and online were flashcards made for children with cartoon characters. This did not honour adult students and often lacked relevance to their lives. Consequently, I created a set of ABC Cards in Microsoft Word.

Even when I had control over the design and image selection my wants were not without challenges. I struggled with the words for ‘i’, ‘x’ and ‘o’. I used Adobe Stock and Creative Commons for the images but if I were a graphic designer, there are some things I would change (e.g. the orientation and relative size of the images). Nevertheless, I did manage to come up with a full set of flashcards that met most of my criteria.

The final product ended up being two sets of alphabet flashcards: one with the lower-case letters and corresponding images to work on phonemic awareness and the other with the upper- and lower-case letters on separate cards with the corresponding image and the word on the same card.

Feel free to print all the flashcards and use them as you wish. I suggest printing them in colour, on thick cardstock and with a pattern on the back side. Cut the individual cards and laminate a few class sets. Because they are made in Microsoft Word, they are easy to modify to meet your specific needs. You can change out the images, the fonts and the logo as you wish.

ABC Flashcard Activities

      1. Put letters in order. Start with upper case and teach the names of the letters, then proceed to the lower case and introduce the sounds of the letters.
      1. Group letters according to shape – straight lines only, curved lines, both straight and curved. Again, do this for the upper case first and when students have achieved mastery, move on to the lower-case letters.
      1. Match upper- and lower-case letters. Do two or three letters at a time and build up from there until the students can do all 26 with ease.
      1. Play “Go Fish.” Play this card game to reinforce letter names. Tip: you can say “big and small” letters at first and eventually transition to “capital and small.”
      1. Match lower-case letters to the image with the same initial sound. When I first do this, I use the image cards that don’t have words. Two or three new sounds a session is usually enough in order to not overload the students with too much information in one sitting. 
      1. Choose the correct image. Say a sound then the name of three images. The students pick the images that starts with the same beginning sound. This helps students to discriminate between different sounds.
      1. Play “Memory.” This game can be played with different combinations: capital and small letters, small letters and the image (with or without the word), two images, etc.

Leave a Reply